This is it. This is the reason I started painting miniatures, and painting this was my goal. I’m very, very happy I got these painted.
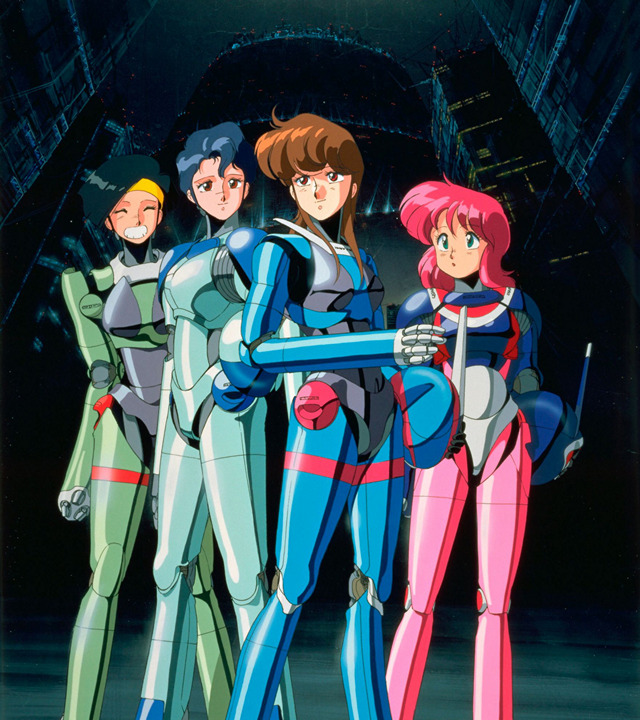
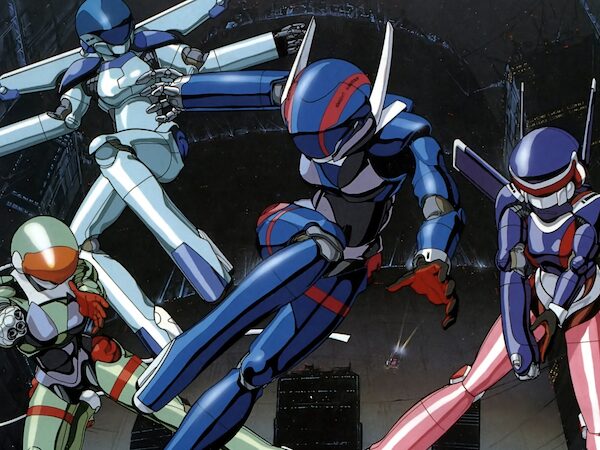
BubbleGum Crisis was the second anime I ever encountered; after my cousin showed me Akira one summer I checked the animation section out at Blockbuster and convinced my buddy to watch it with me. I was, back in those days, not emotionally well, and the escapism of a dystopian future where people could make a difference and also they were hot chicks and also they were people with agency and also there were robots and lasers, well… it really had an impact on me. I’ve bought three or four versions of the anime since then as media changed. Looking back now I can see it wasn’t quite as awesome and original as I thought it was at the time, but it was nearly as awesome and original as I thought. Since I first saw it I’ve maintained and increased my appreciation for the work of Masami Oobari, Katsuhito Akiyama, Satoshi Urushihara, and Kenichi Sonada.
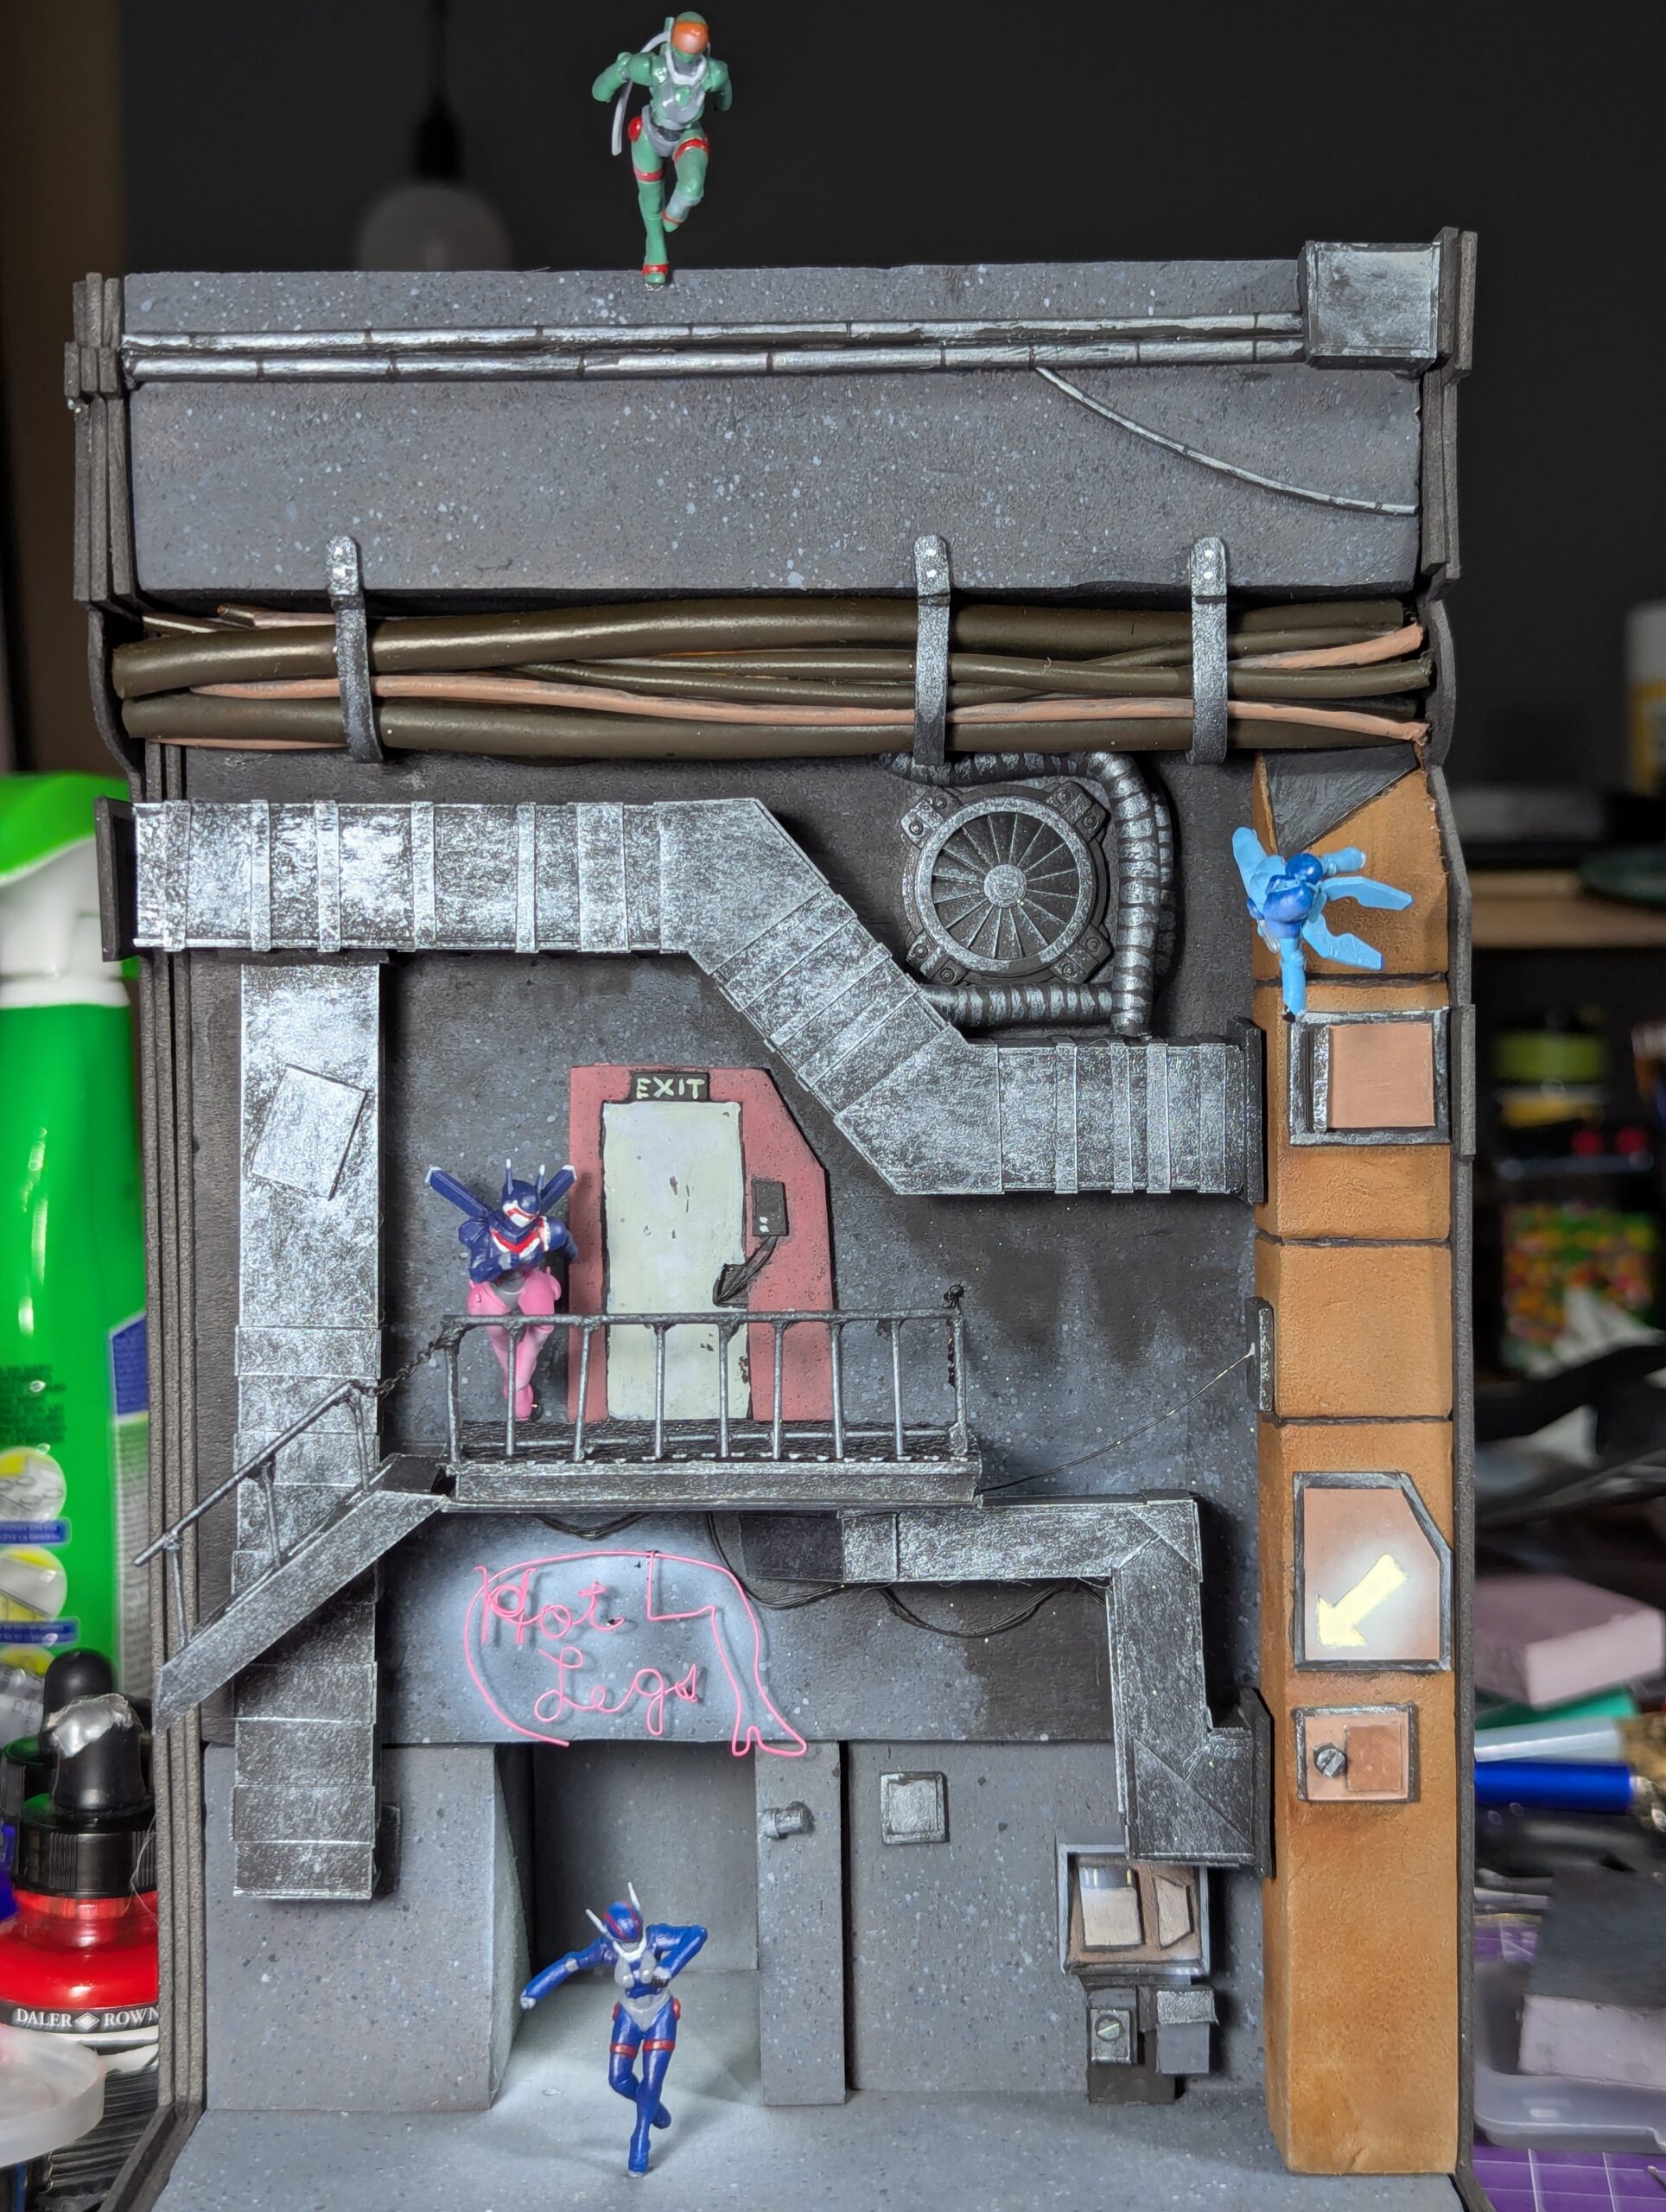
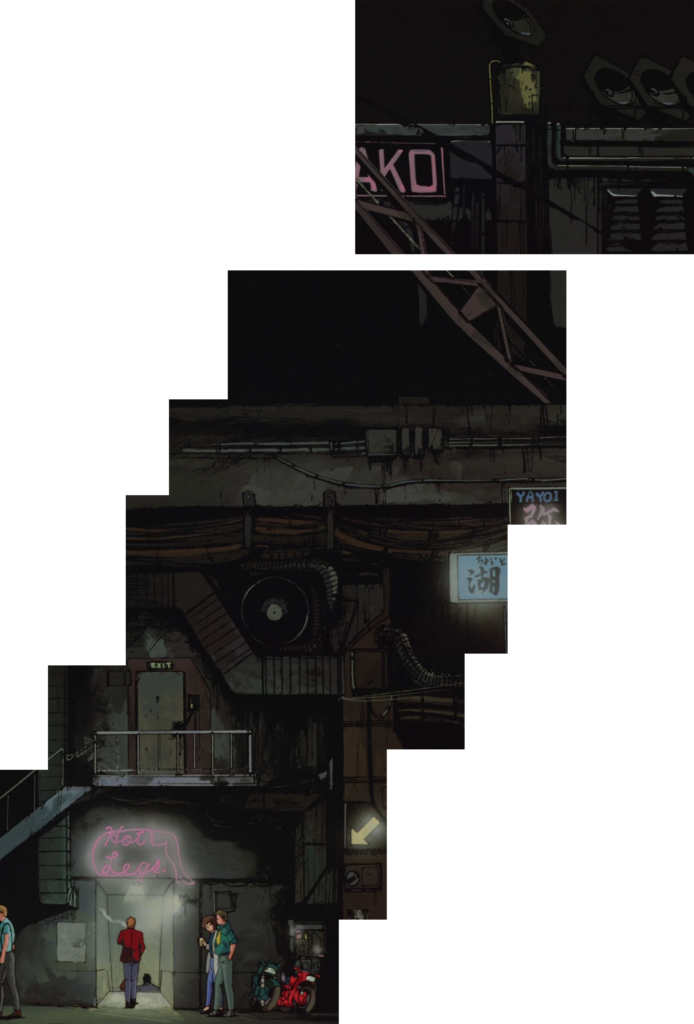
I did this entire project in a frankly frantic single week for a local convention that had an unrestricted miniatures entry. There were a couple things I did that I’d do differently, or that I didn’t do that I wish I had, but I’m still totally satisfied with having done it. So, here’s the process. First, I assembled reference images from screenshots of the opening of the first OVA and some promo material.
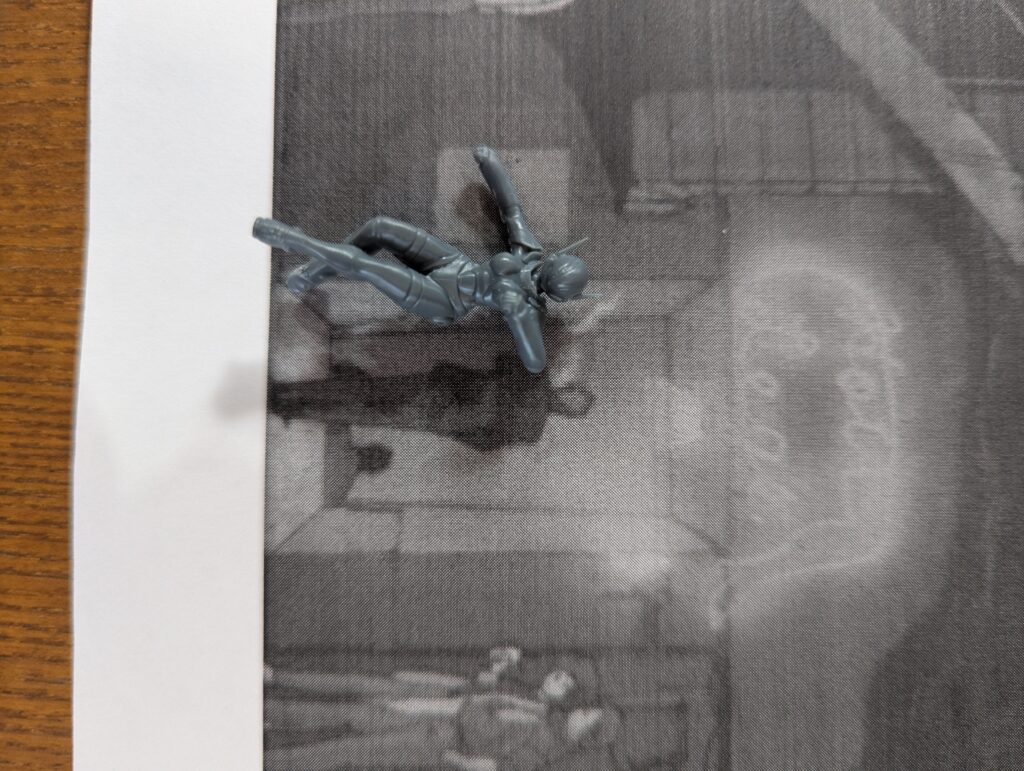
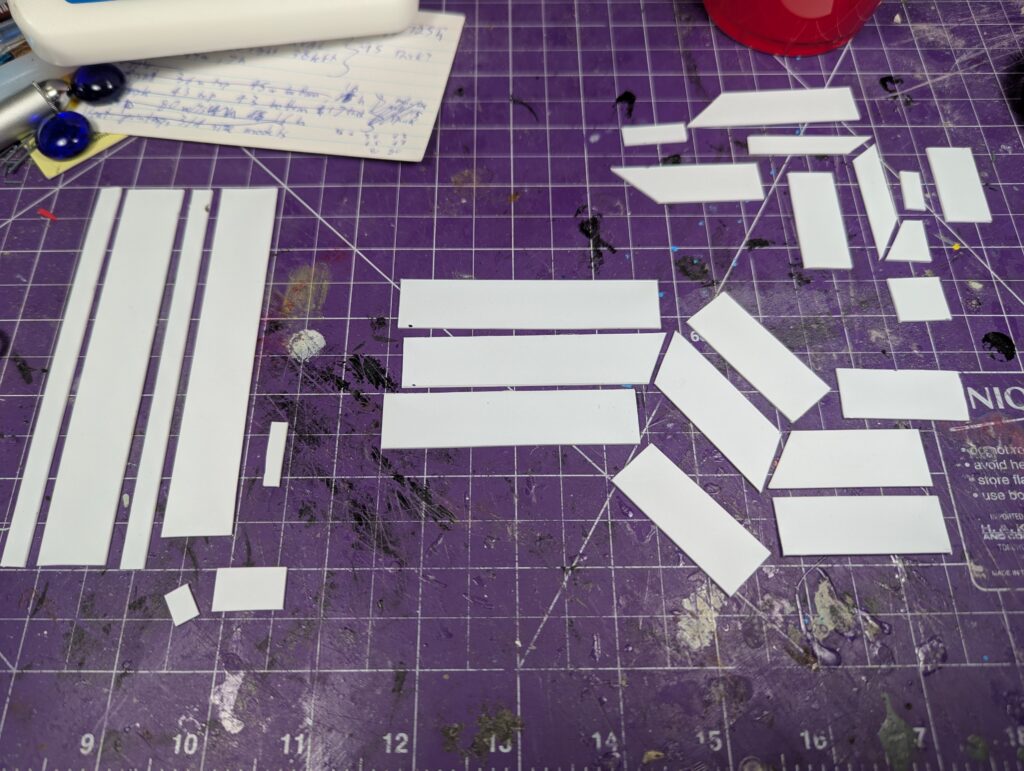
I printed the models I found (Papsikel’s, on MMF; previously I only had some static posed 15mm scale pewter from Japan). Printed the screenshots out at the right scale and used that to figure out my posing plans, and what I’d need to build.
My hot wire cutter got a lot of work for this. The bar entrance backstop wasn’t great, but you can’t tell in the finished product so who cares.
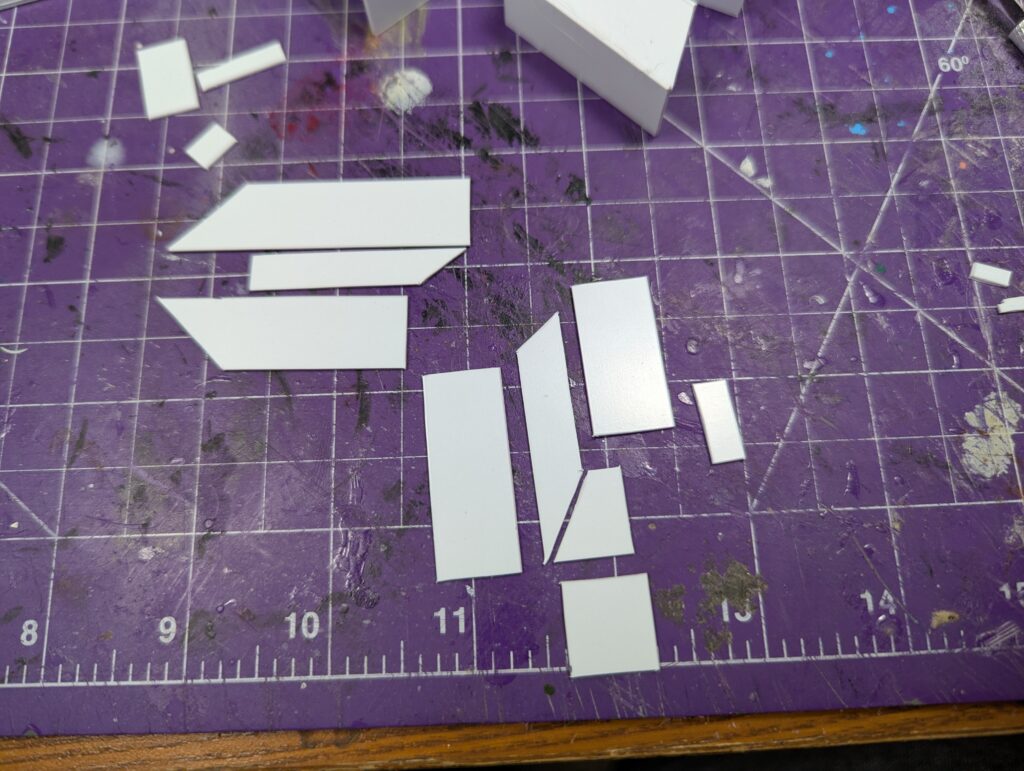
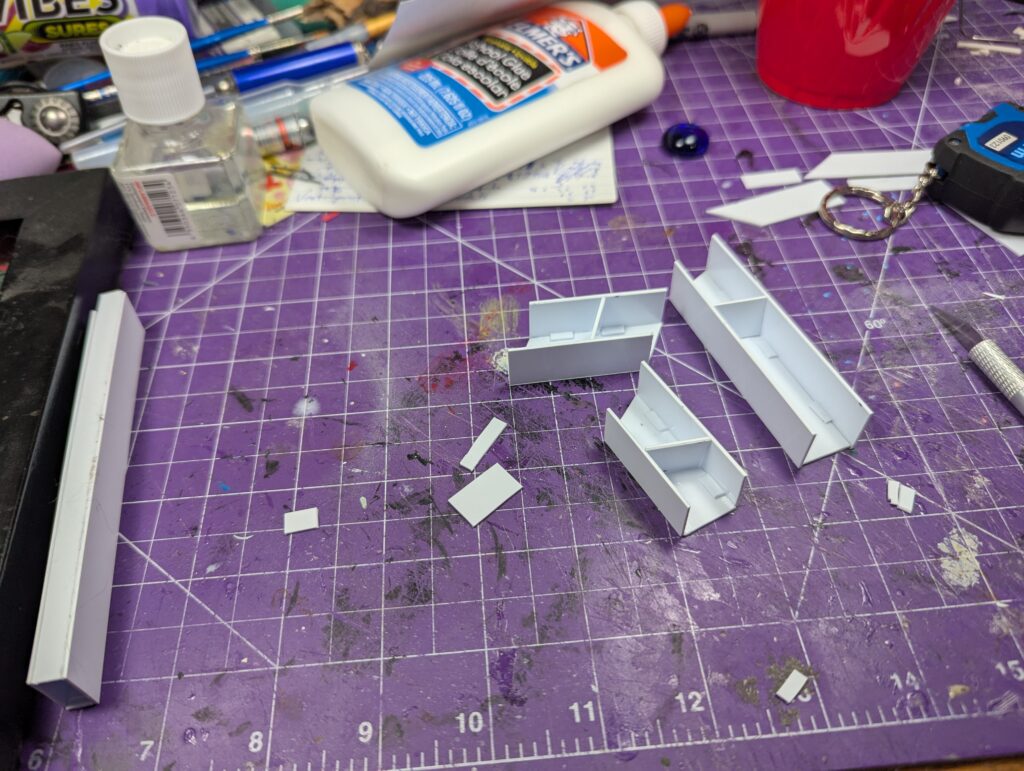
I used thick cardstock and white glue for some structural elements, stuff that I felt would be made from structural steel like small I-beams and sheet metal. This was leftover matte board from a photo frame.

For the various vents and ducts I finally started using some of the vast quantity of styrene sheet I bought cheap a while back. Sanding edges down was needed because my measurements were only mostly good.
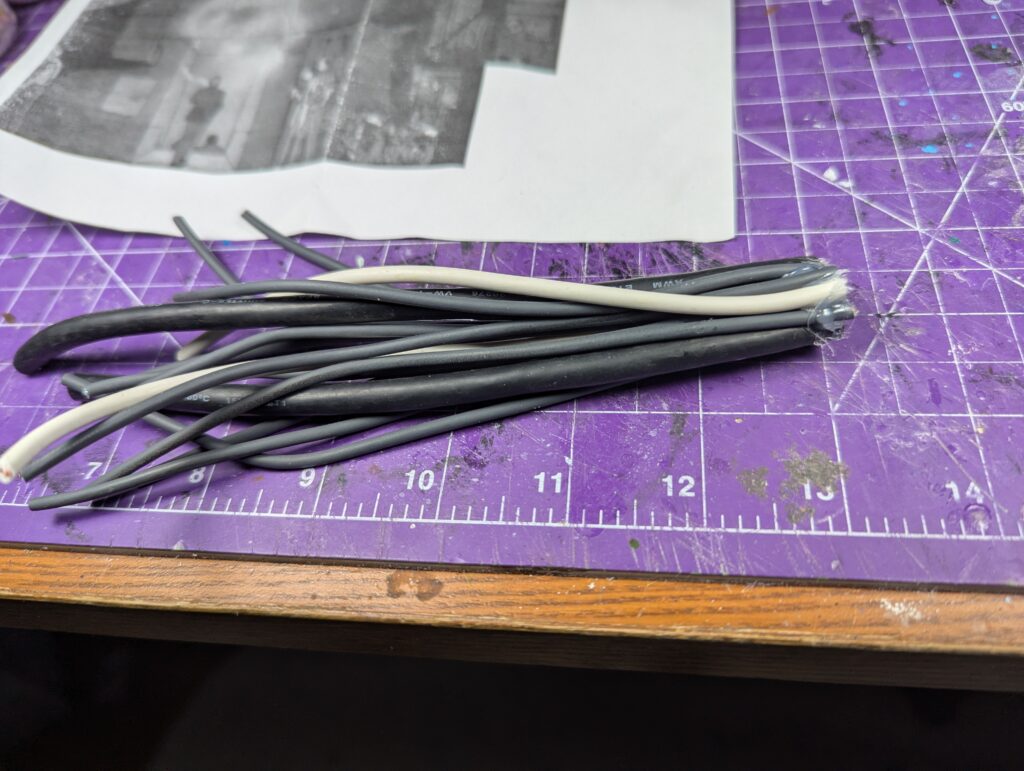
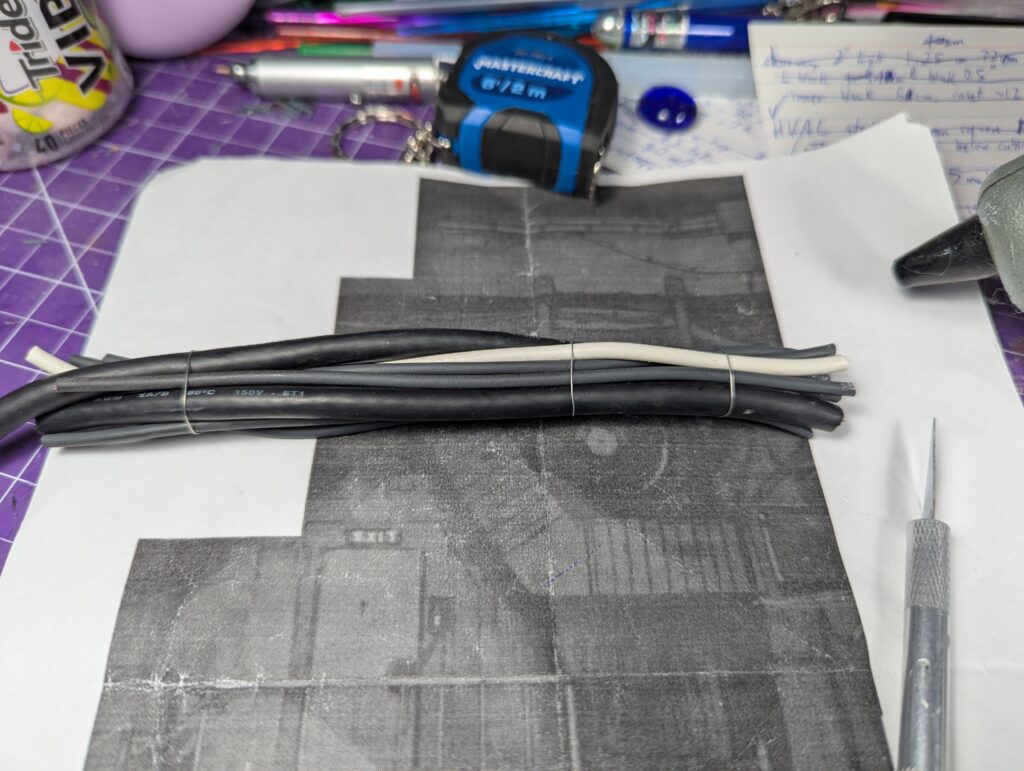
In the photo there’s a huge bundle of industrial cables. I chopped up some discarded mouse and monitor cables for this and the scale came out pretty well. The wires holding them together were frankly a little lightweight, but it didn’t ruin anything. If I did this again I’d use some paperclips or thin gauge wire instead of the twist-tie wire I used here.
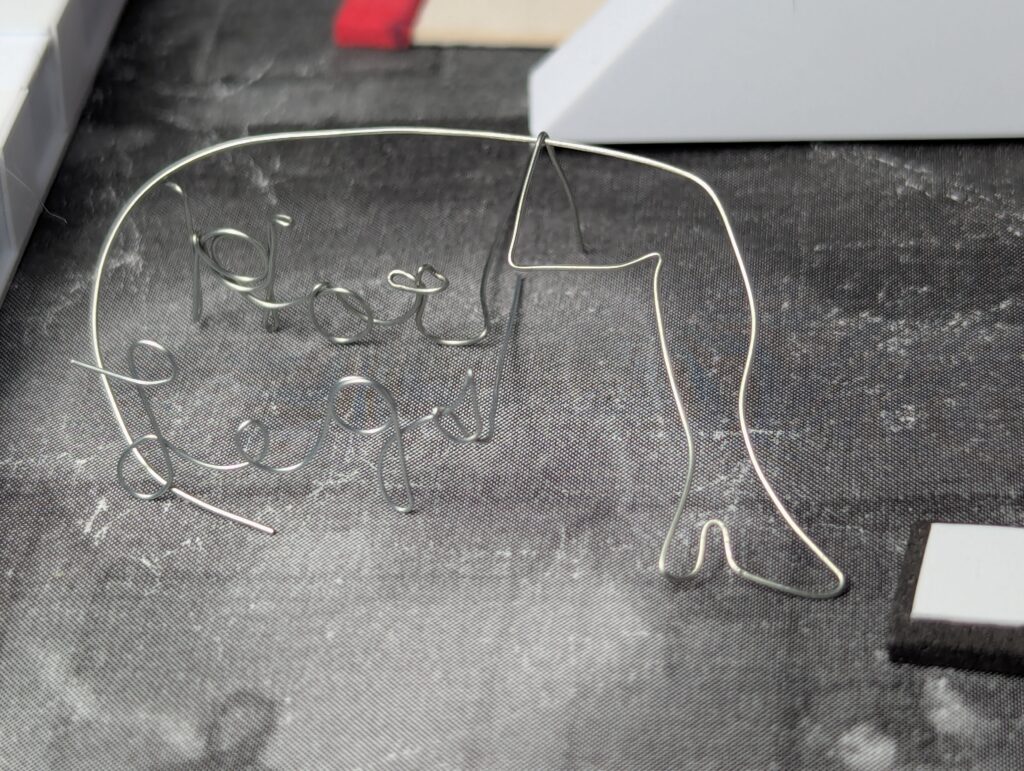
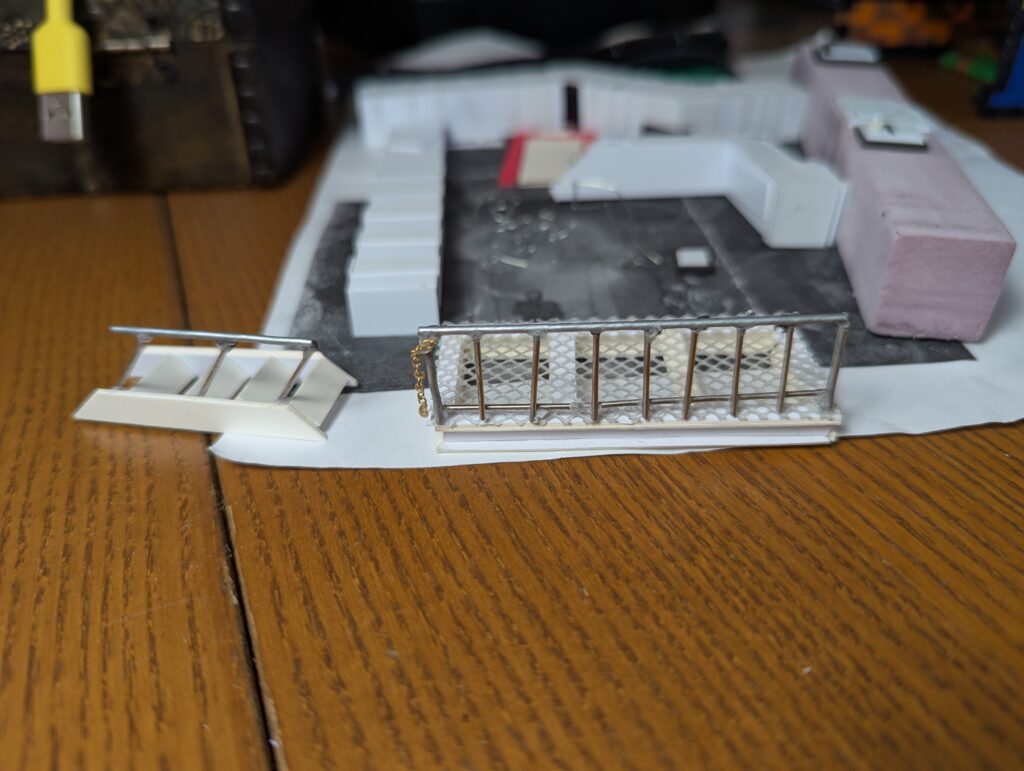
Time for details. Constant checking of the reference images, and laying the wire I used onto the scale printout, got me a pretty good neon sign. Some paperclips for railing were a complete bastard to glue, I should have tried solder or styrene pipes or SOMETHING that would stick properly. Only came out okay because it was a diorama and not a playing piece. 3d printed a fan because I’ve tried building those by hand once and that was enough. Craft foam and styrene for various wall elements.
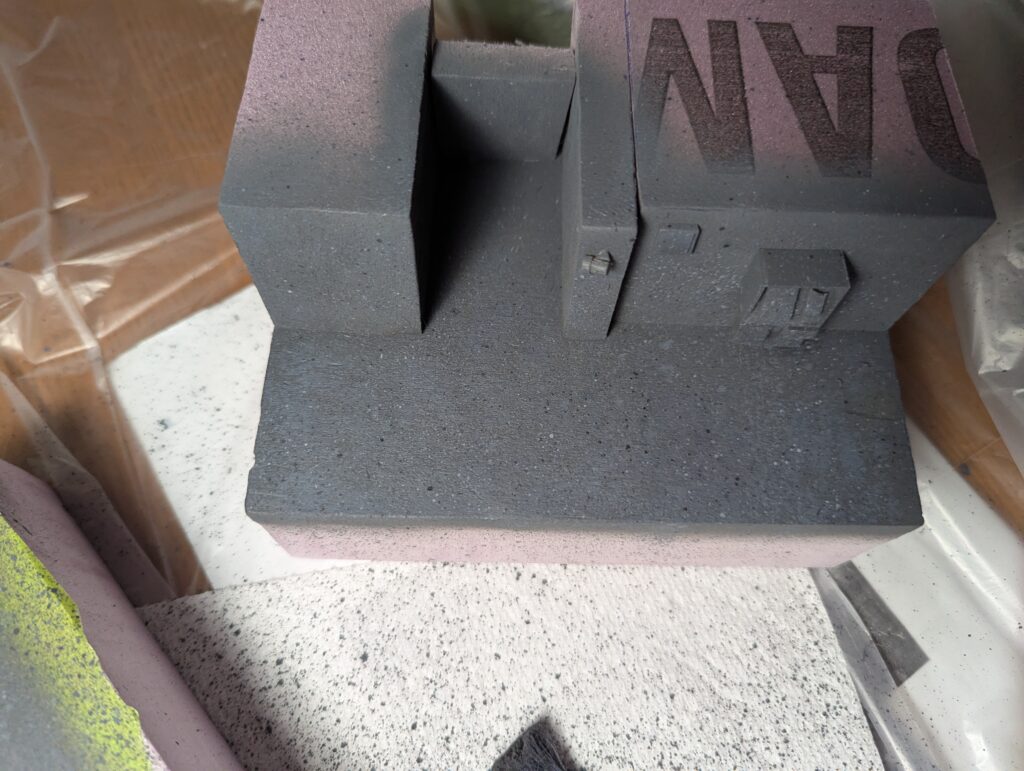
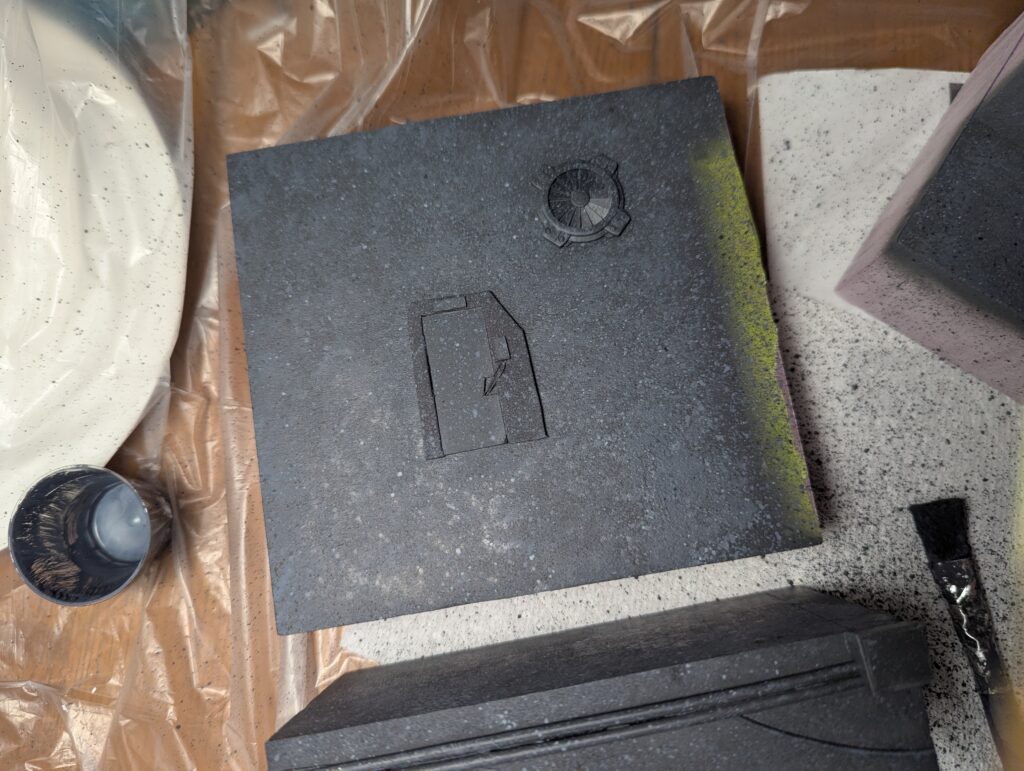
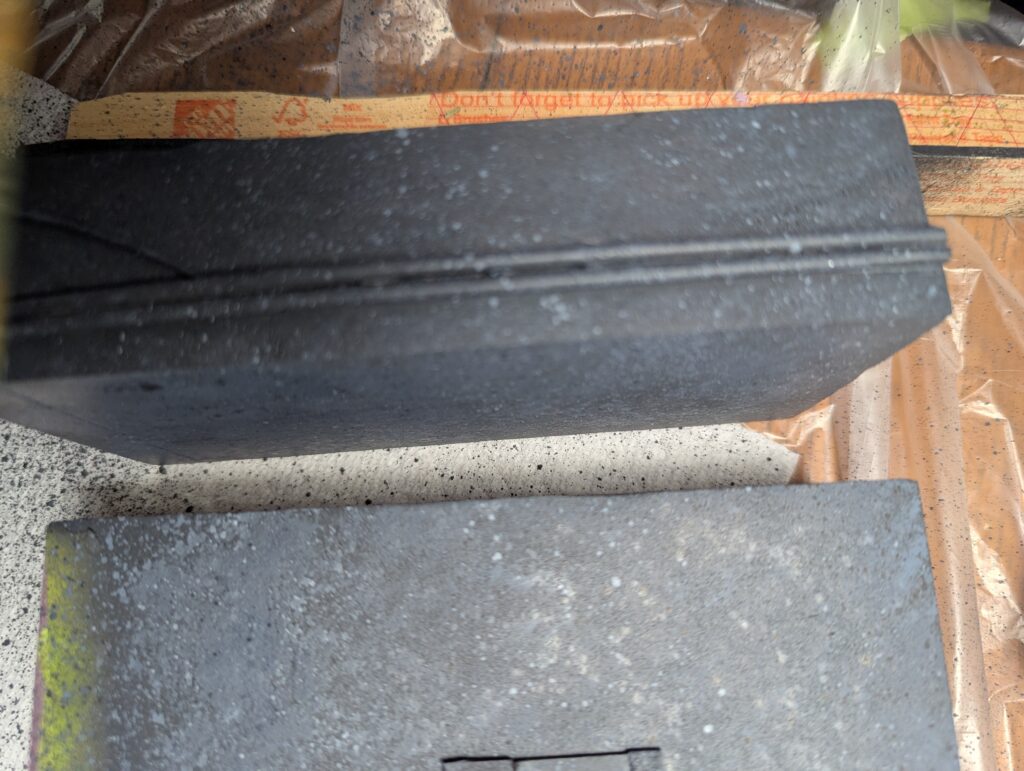
Time to prime. First, I airbrushed a dark grey primer. Then I put down a drop sheet and used a lot of black and white ink with a large stiff brush I scraped mostly clean and then knocked against my wrist held a foot or two above the “concrete”. White, black, and light grey got a pretty impressive texture painted on it. I was pretty happy, anyway. The styrene ducts and cardstock platforms got based in black so I could overbrush in silver.
With the concrete down it was time to paint and pin and glue various elements. The ducts and platforms were pinned and foam-safe-superglued into place. The conduits (after several coats of primer and burnt umber) were pinned in place. Strips of black craft foam brushed silver became the conduit braces. Magenta and white made a great neon pink for the sign, which I backed with some white airbrushing per the source material. Imho they were using white airbrush for a lot to save time, which is fine, but while I was copying them I found myself preferring more colour in some elements. On the other hand, backing hot pink neon with hot pink wouldn’t stand out nearly as well. The utility stack on the right was pinned into place and I slipped some black craft foam in to hide gaps.
I am particularly proud of the “shadow” I managed to paint in front of the entrance, using light yellow “light” blooms and a miniature to block the spray.

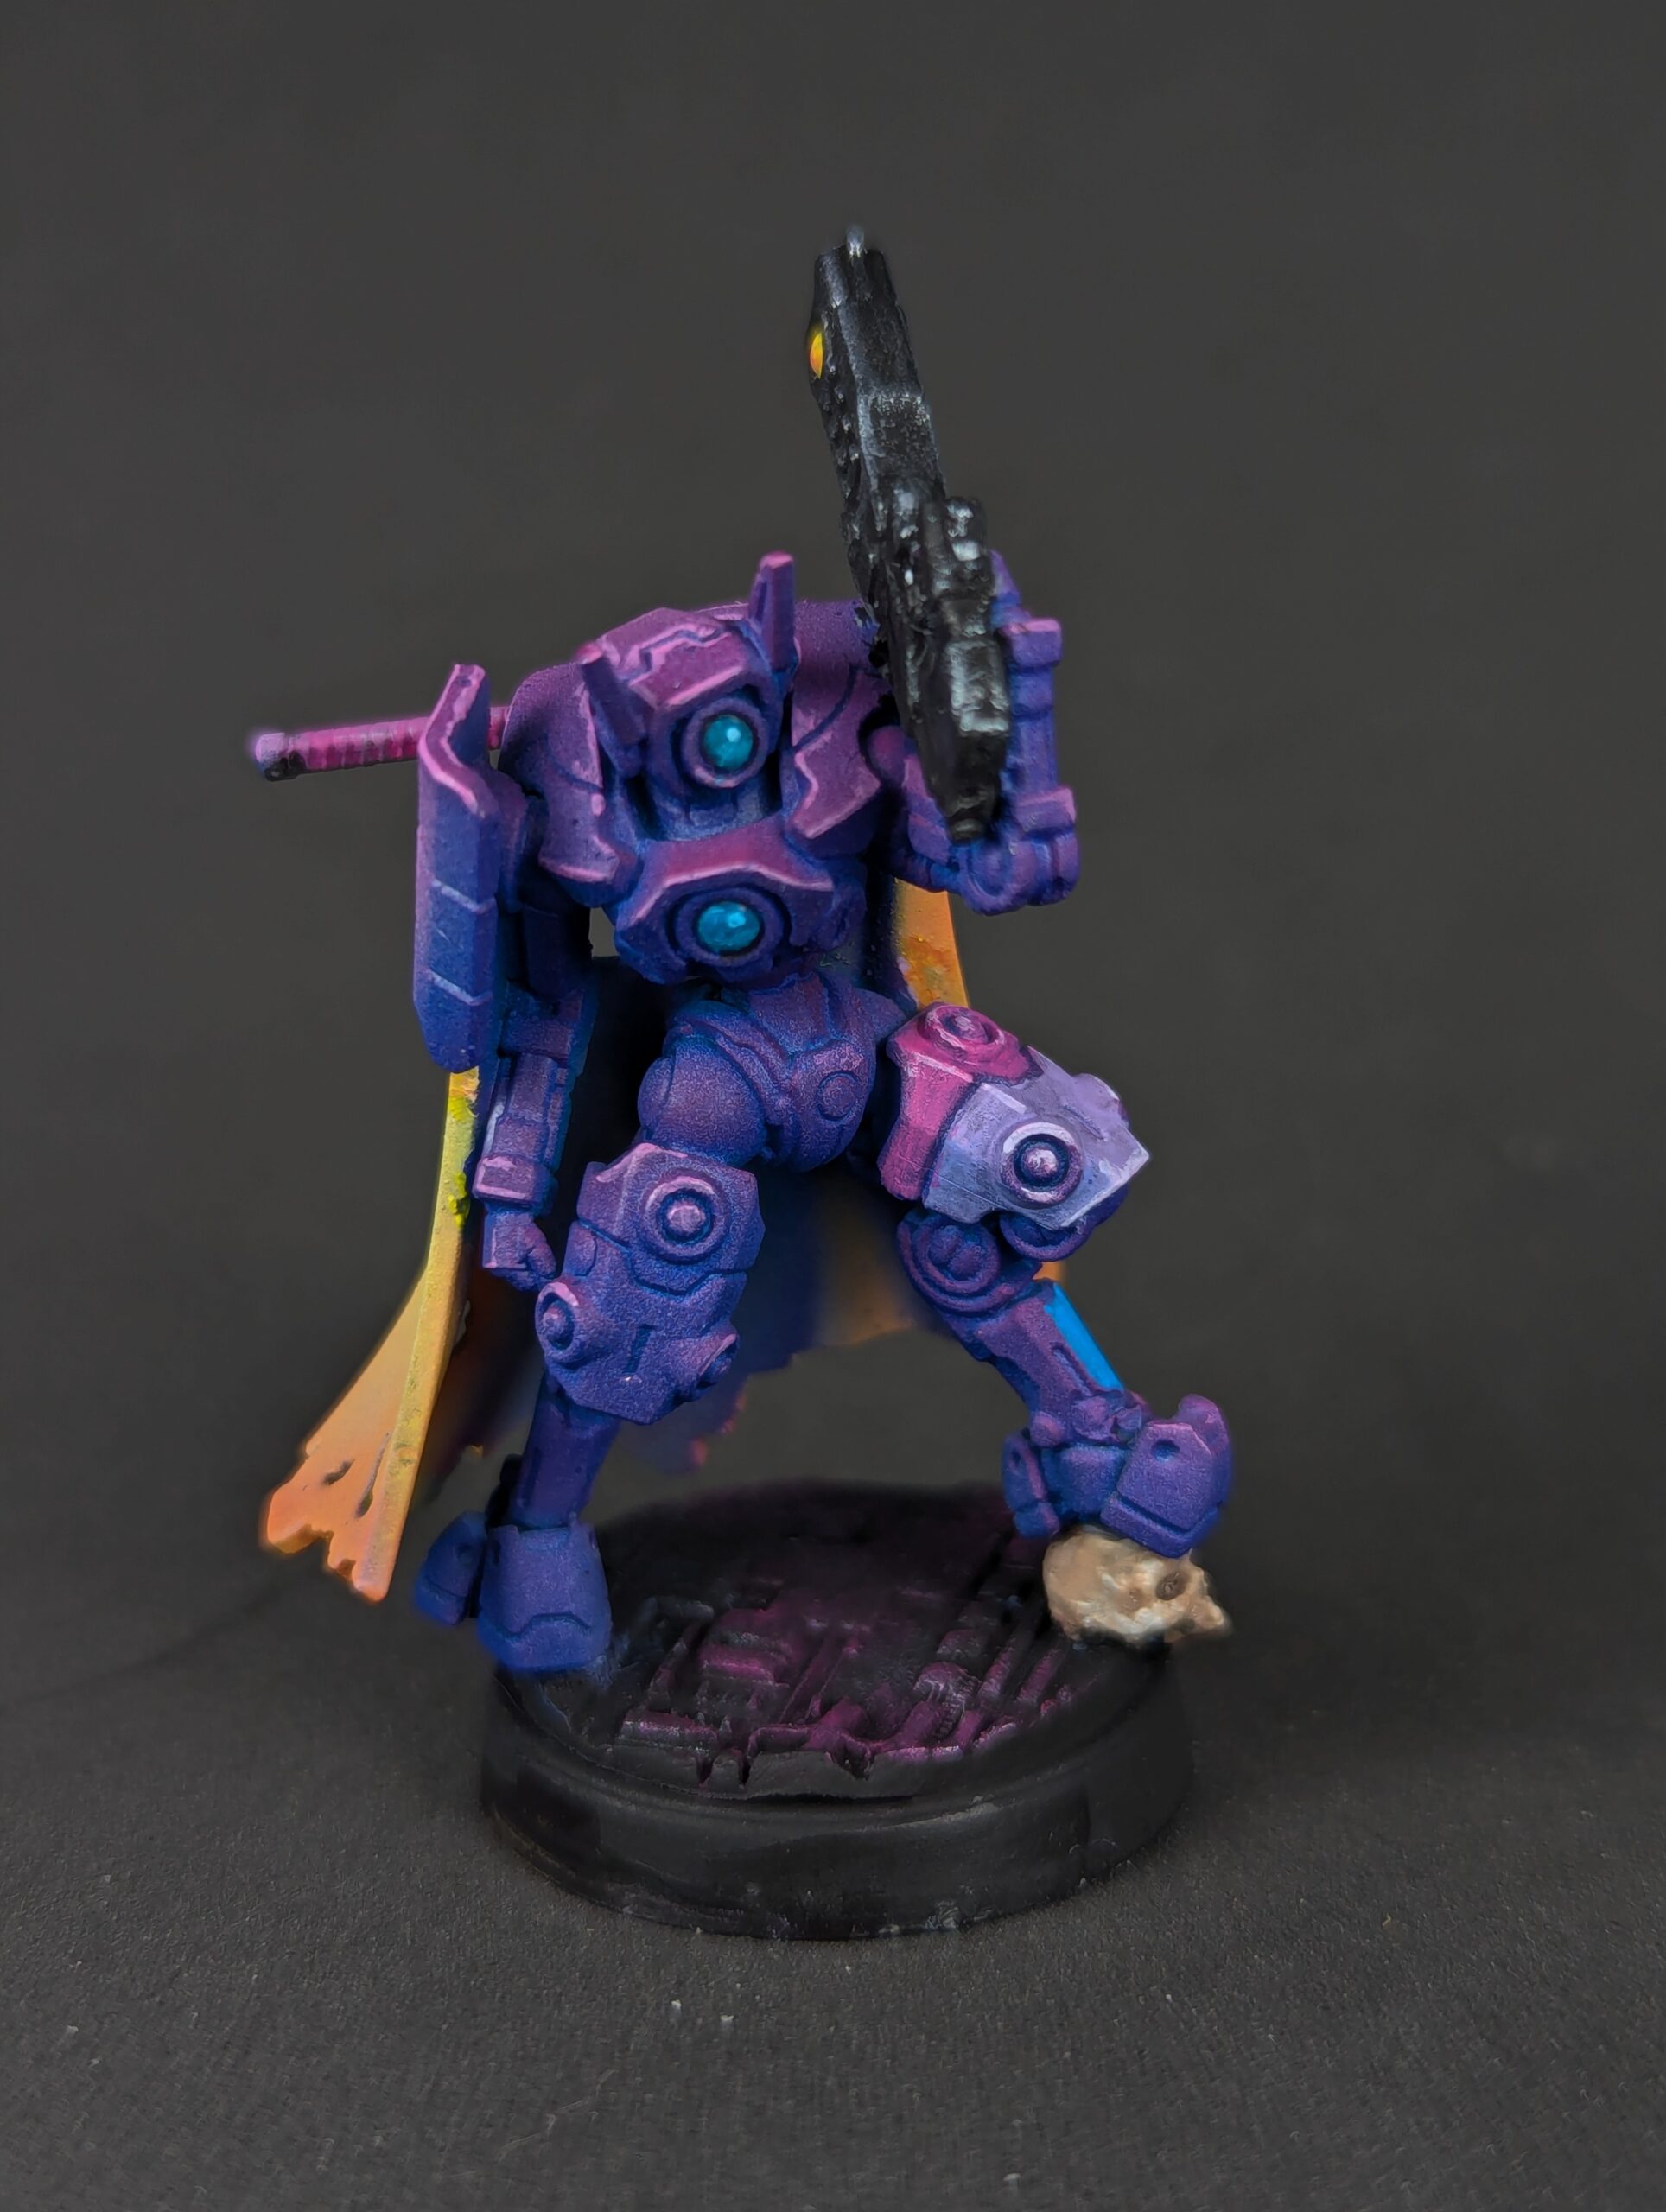
With the backdrop assembled, it was time for the knight sabers. I did not yet own a wowstick so the pins were superglued on (and popped off too often), which was sufficient as long as I was gentle with the models. I managed really good colour matching, very happy with it. Managed to get light effect from the diorama’s light sources in the right direction on the models. Didn’t get panels lined with a wash or panel liner, which I do regret, but in the context of the diorama they look pretty good anyway. Final assembly was with more foam safe superglue and the pins driven into the foam.

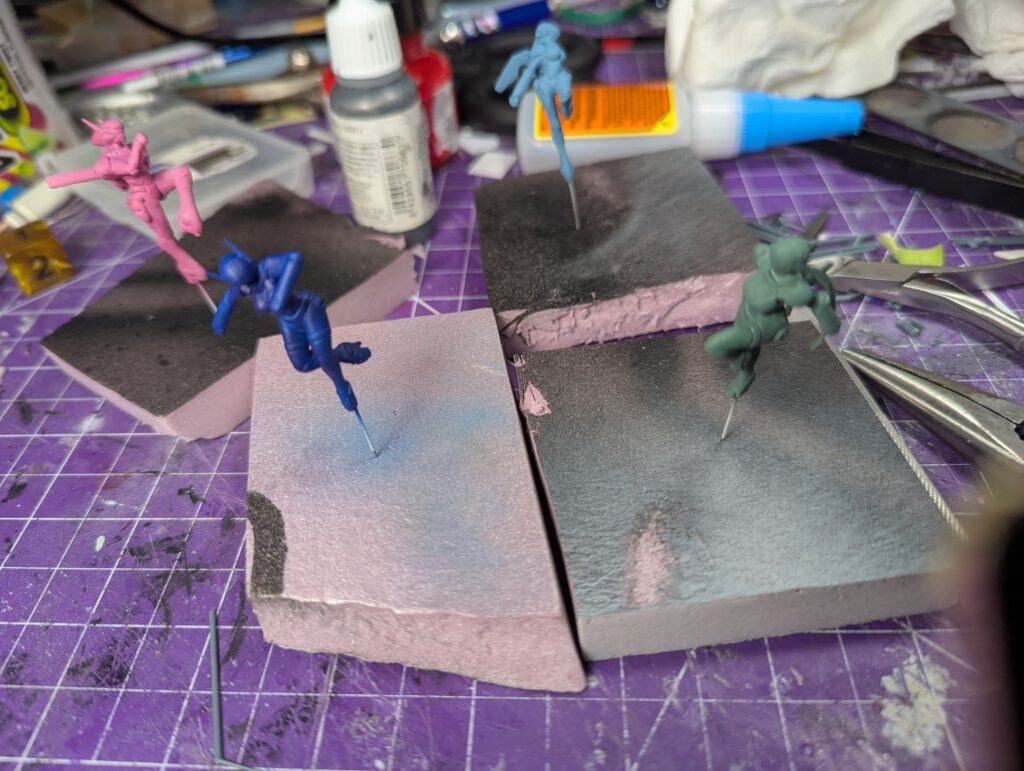

For my own reference for the future (or in case anyone wants to try doing something similar), here’s CMYKW mixes using drops of Daler Rowney ink as measurement. The specific inks were 119, 412, 651, 038, 011, and 335 for the green. Sylia 1-2-0-10-20 for main and 3-2-0-1-20 for shadow. Linna 7 drops of green and 13 of white, shadow was the same with a brush-touch of black. Nene was two toned, so 0-1-0-0-10 and 0-1-0-0-3 for shadow, then 3-4-0-0-1 and 6-0-0-2-0 for navy. Priss 4-5-0-1-0 and 4-5-0-0-2 for shadow.
Now, of course, I want to do it again with cel shading.